Physical Address
304 North Cardinal St.
Dorchester Center, MA 02124
Physical Address
304 North Cardinal St.
Dorchester Center, MA 02124
You don't need a big plot of land to grow potatoes, as a matter of fact you don't need any land!, you can grow a surprisingly large amount of potatoes just using jars, pots, half-barrels and other small containers. This tutorial will guide you through the process in a friendly and easy to follow manner.
Potatoes are one of the most rewarding crops for container growing. They’re a great choice for reusing big containers like half barrels, deep buckets, or even old garbage cans. By “hilling” the potatoes with added soil as they grow, you can get a surprisingly large yield from a small space. Here’s how to do it step by step.
The Small Containers Gardening series
This article is part of a series of articles related to planting all kinds of edible plants and herbs in small containers. The articles in this series are:
This article is specifically about growing carrots, radishes and leafy greens in Small containers. For more information about soil composition, crop cycles, indoor and outdoor setups, and common problems and issues, go Planting in Small Containers Main Guide.
Instead of planting seeds, potatoes are grown from “seed potatoes” – small potato tubers or pieces of larger potatoes that have at least one “eye” (sprout point). You can buy certified seed potatoes, or simply use organic potatoes from your pantry that have started sprouting. If your potatoes are large, cut them into halves or quarters, each piece with 1-2 eyes. Let the cut pieces air-dry for a day or two until the cut surfaces form a slight crust; this helps prevent rot when planted.
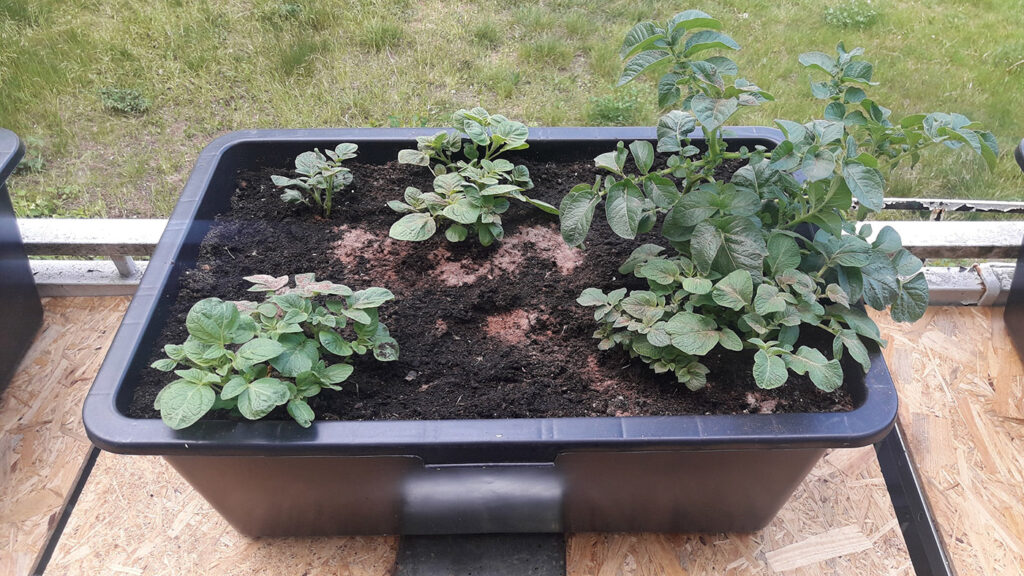
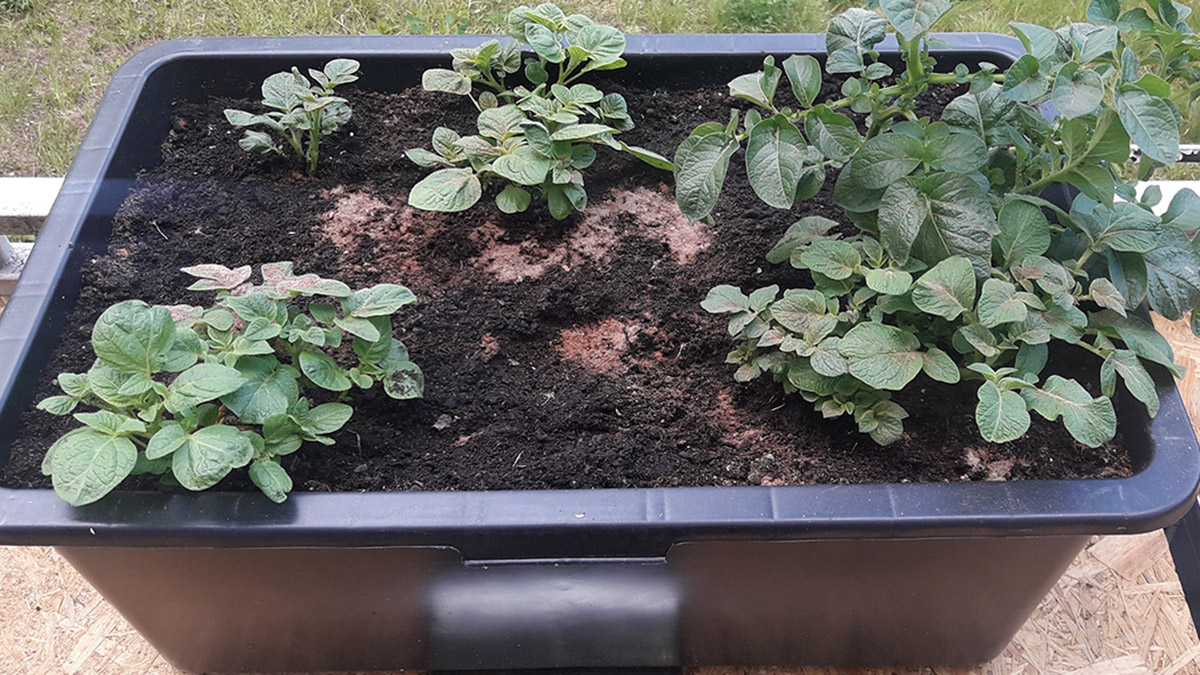
Fill the bottom of your container with about 4–6 inches of your prepared soil mix. Place the potato pieces on top of this soil, spaced a few inches apart (for a typical 5-gallon bucket, 2 or 3 pieces is plenty; for a half barrel, maybe 4 to 6 pieces spaced out). Cover the potatoes with another 3–4 inches of soil mix. Don’t fill the container to the top yet – the key technique with potatoes is to add soil gradually.
Position the container in a spot that gets good sun (at least 6 hours a day). Potatoes love sunshine on their leaves but cool soil on their roots. Water after planting to moisten the soil evenly. In containers, soil can dry out faster than in the ground, so check moisture often. Keep the soil damp like a wrung-out sponge, but not soaking wet (soggy soil can rot the potatoes). Consistent moisture is especially important once the plants start growing.
Soon, green shoots will emerge. When the potato plants are about 6–8 inches tall, gently add more soil mix around the stems, covering about half the height of the stems. Leave some of the leafy tops exposed. This mimics “hilling” potatoes in a garden bed. By adding soil, you encourage the buried stem portions to produce more roots and thus more potatoes. Over the next weeks, keep repeating this process whenever the plants grow another 5–6 inches. Add soil (or other organic matter like straw or dried leaves) around the stems, leaving the top few inches of the plant always above the soil. Eventually your container will be nearly full of soil.
Potatoes in containers appreciate regular feeding since they have a limited soil volume. You can mix in a balanced organic fertilizer when initially preparing the soil, or occasionally water with compost tea or a diluted fish emulsion. However, if your compost was rich, you might not need much extra fertilizer. Watch out for any pests – slugs or beetles might find potato leaves. Because your plants are in a container, it’s easy to handpick pests or move the container if needed. If growing outdoors and it gets very hot (above 85°F / 30°C), try to keep the containers in a spot with afternoon shade or cool the roots (extreme heat can cause potatoes to pause tuber development).
After a couple of months, your potato plants will flower (some varieties) and eventually the foliage will start to yellow and die back. This is the sign that tubers have formed and are maturing. For “new potatoes” (small, thin-skinned potatoes), you can harvest a bit earlier, when flowering begins or even before full die-back. To harvest, the fun part is that you don’t need to dig with a shovel – simply tip your container over onto a tarp or big sheet of plastic. Gently rummage through the soil and pull out your potatoes! It’s like a treasure hunt. Grab all the potatoes, from marble size to big tubers. If you’d planted in layers with something like an old tire stack or a tall drum, you can unstack or reach in from the bottom trap door (some DIY potato barrels have a door at the bottom to pick potatoes). For most of us, tipping and dumping is easiest. Allow the harvested potatoes to air dry for a few hours, brush off excess dirt (don’t wash them if you plan to store them), and then cure them by storing in a cool, dark, dry place for a week or two (this hardens the skin for storage). Or just start cooking with the fresh potatoes right away – nothing beats the flavor of a potato you grew yourself… in a small container!
In many regions, potatoes are planted in early to mid-spring and harvested in summer. But with containers, you can be flexible. If you have a mild climate or an indoor growing setup, you could start potatoes earlier or even try a fall crop. Just remember potatoes don’t like frost (they are sensitive to freezing temperatures on their leaves). You can start them indoors and move outside after frost, or keep a container in a garage or indoors by a window to extend the season. Also, select potato varieties that fit your season length – early varieties produce in ~70 days, late varieties need 100+ days. For container growing, early or mid-season varieties are often better since late-season types might get very tall. Now, let’s move on to garlic and onions, which are also perfect for containers.
As mentioned, most potatoes are spring-planted for summer harvest. However, if you live in a place with mild winters (no hard freeze) or have a protected greenhouse, you could plant a second round in late summer for a fall harvest. Some gardeners also start potatoes extremely early indoors (late winter) in a container and then move it outside when weather permits, thus getting a jump on the season. Keep in mind potatoes need about 10 weeks minimum to produce small tubers, and up to 15-20 weeks for full crops.
You can keep reading about growing different types of plants in the Small Containers Planting Main Guide.